Morkvarg Witcher 3 What to Feed
In Wolf's Clothing is one of The Witcher 3's Skellige side quests and has caused great aggravation to many players throughout the years. Though obfuscated, players can definitely stumble across it while perusing the notice board in Larvik. It is also attainable through the main quests, Missing Persons and Nameless.
The latter runs hand in hand with this side quest. As both quests lead into Freya's Garden, it will be most efficient to work through them simultaneously. But it can be easy to bypass the maximum rewards amidst In Wolf's Clothing's many possible paths, so keep reading until the end to ensure you're not getting swindled out of earning top coin.
Do Your Research
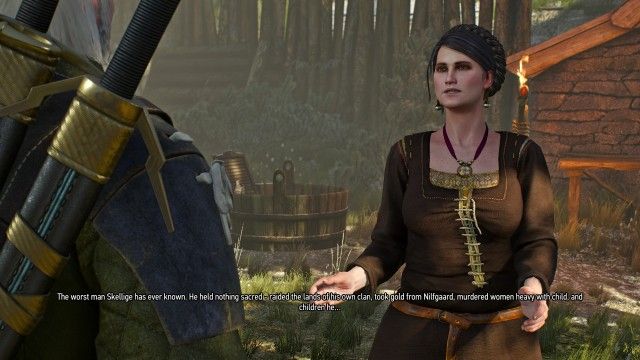
You'll want to start by paying a visit to the Temple of Freyja on the island of Hindarsfjall in Skellige to speak with the priestess, Josta. Talking with her, Geralt will learn that the werewolf within Freyja's Garden is afflicted with a complicated curse and is seemingly immortal.
The werewolf was once a villainous man named Morkvarg who raided seas and villages, killing innocents, children, and even pregnant women. It's believed he was cursed as a result of tainting holy ground with his vile ways by besmirching Freya's Garden and killing the priestess there.
Josta will then point Geralt to Einar, the only surviving witness of the events, for more information. Though Einar's retelling seems shady, Geralt will learn when Morkvarg attempts to eat the meat turns to ash in the werewolf's mouth. This only adds perpetual starvation to the werewolf's undying curse.
Freya's Garden
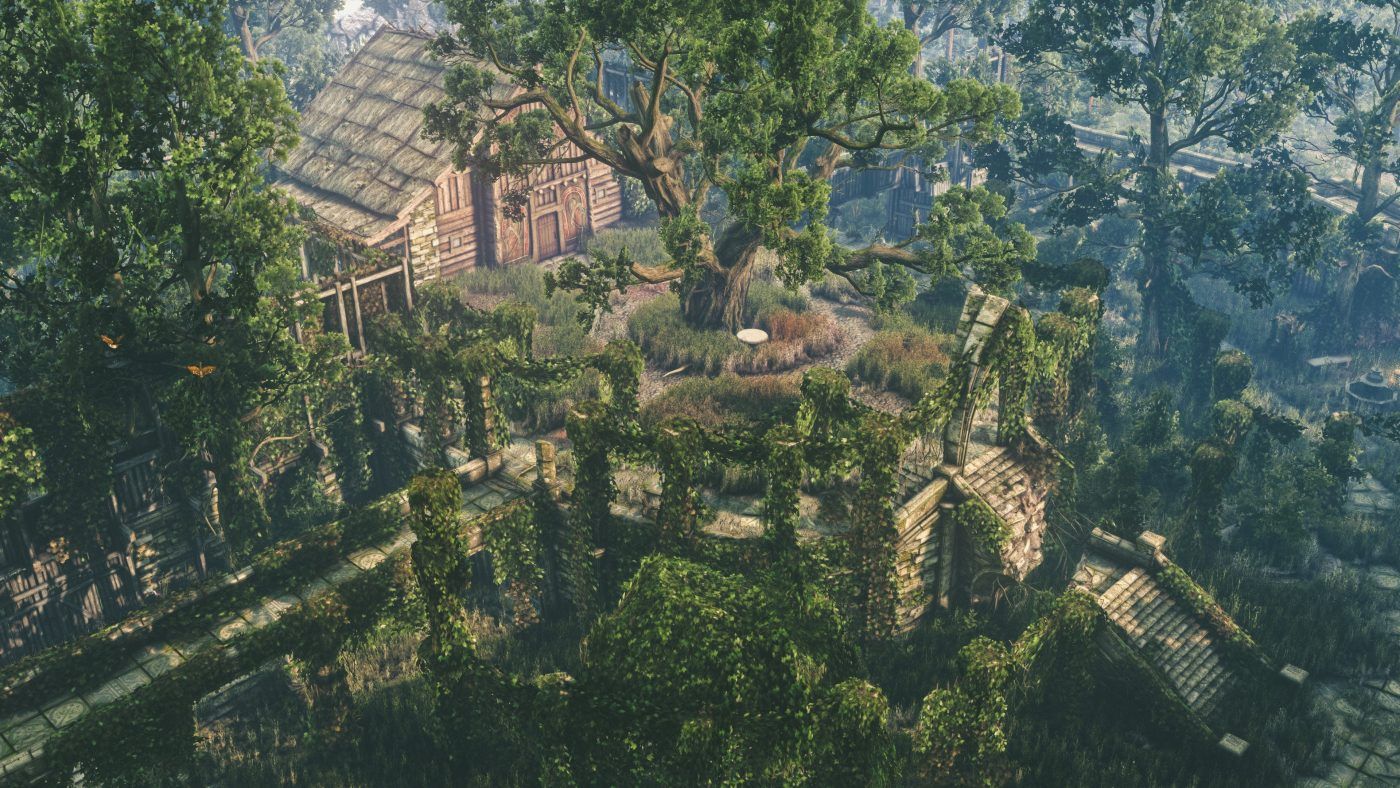
Now's the time to start on the Nameless quest and head into the Garden. That's because the person Geralt and Yenn are searching for in that quest entered the garden to confront this Morkvarg. The front of the garden is built similarly to a sort of keep with outer and inner walls. Geralt will need to navigate the overgrown thicket between the two walls until he comes to a locked door, but be wary of the wolf pack lurking in the overgrowth.
There is another door with scratch marks all over it and a low wall to the left. This door is also locked, so Geralt should climb up the wall and find another way around.
Atop the wall, Geralt will find himself in an overgrown courtyard. Taking a left through a break in the hedges, Geralt will come across a larger building which he'll want to continue past for now and continue to drop down the low wall on the other side. Taking a second left through the wooden gate, Geralt will find himself in another shrouded area with smaller inaccessible shacks.
By continuing past these and dropping down yet another low wall, Geralt will come across a moat and wooden bridge. After crossing the bridge and climbing the stone ladder in the wall to the left, a cut-scene will trigger, drawing your attention to a double lever mechanism sitting on the edge of the mote.
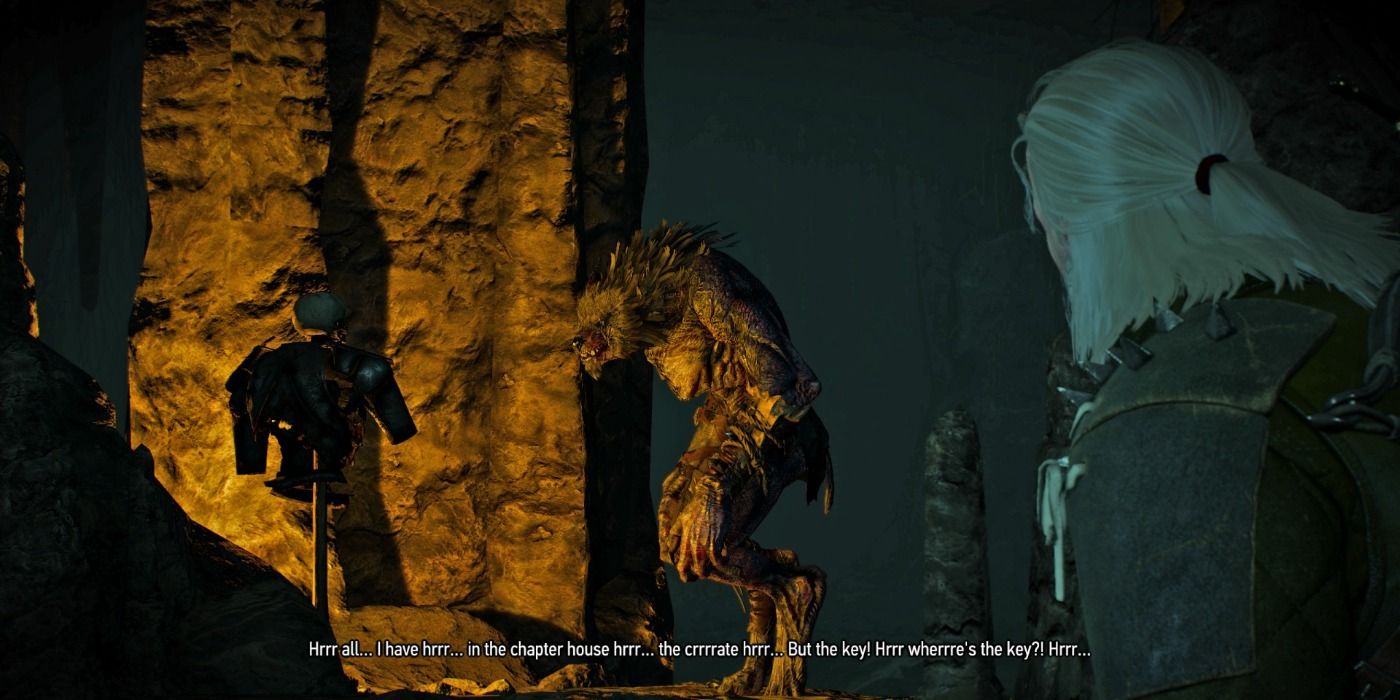
The mechanism will become important later on, but for now, pass this area to find the entrance to Morkvarg's lair up the hill. As Geralt enters, it will cut to a scene of Morkvarg grumbling to himself about a missing key. Morkvarg will immediately charge Geralt when the scene cuts back, so it's best to prepare before heading into the cave.
Confronting Morkvarg
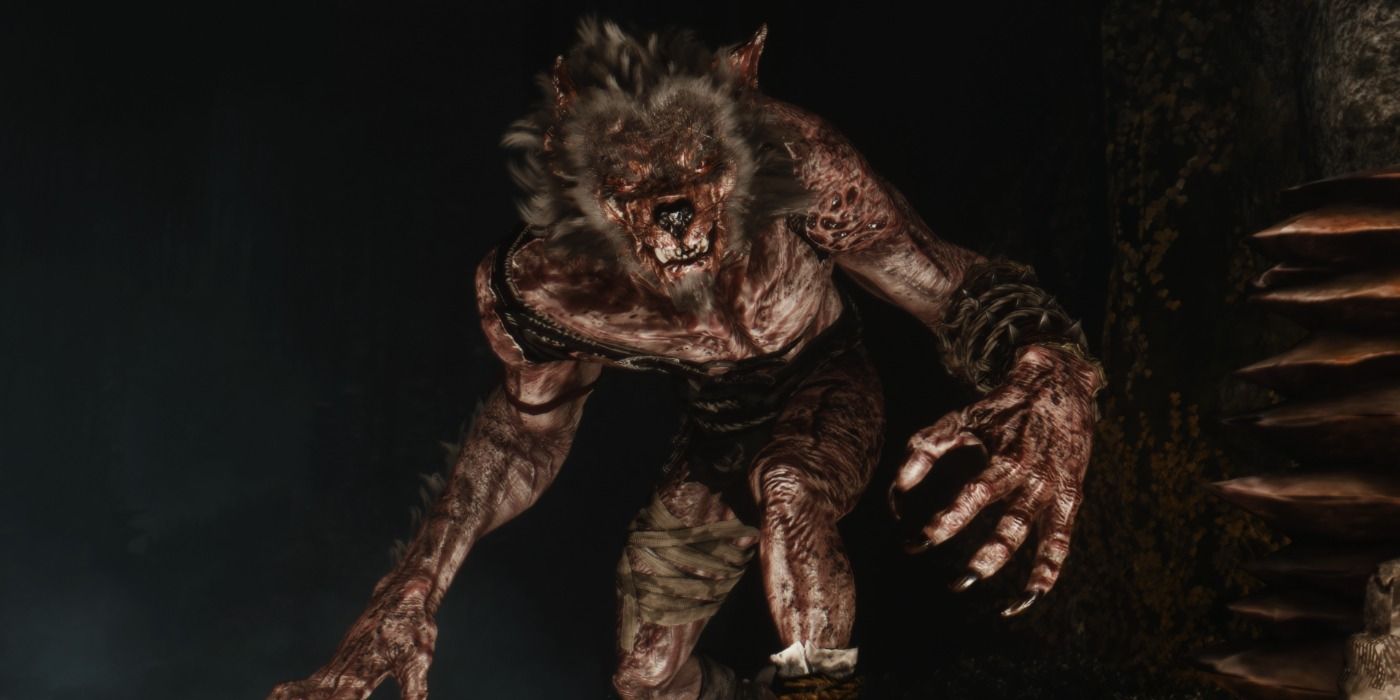
Geralt can whittle Morkvarg's health down like any werewolf by using Axii to stun coupled with consistent strikes of a silver blade. Once his health drops enough, he will be sufficiently incapacitated for Geralt to speak with him. Morkvarg doesn't tell Geralt much that he doesn't already know through asking around, but he promises to reward Geralt with treasure if he lifts his curse. Geralt then has three options.
- Feed Morkvarg something from Geralt's inventory.
- End Morkvarg's suffering.
- Leave the cave.
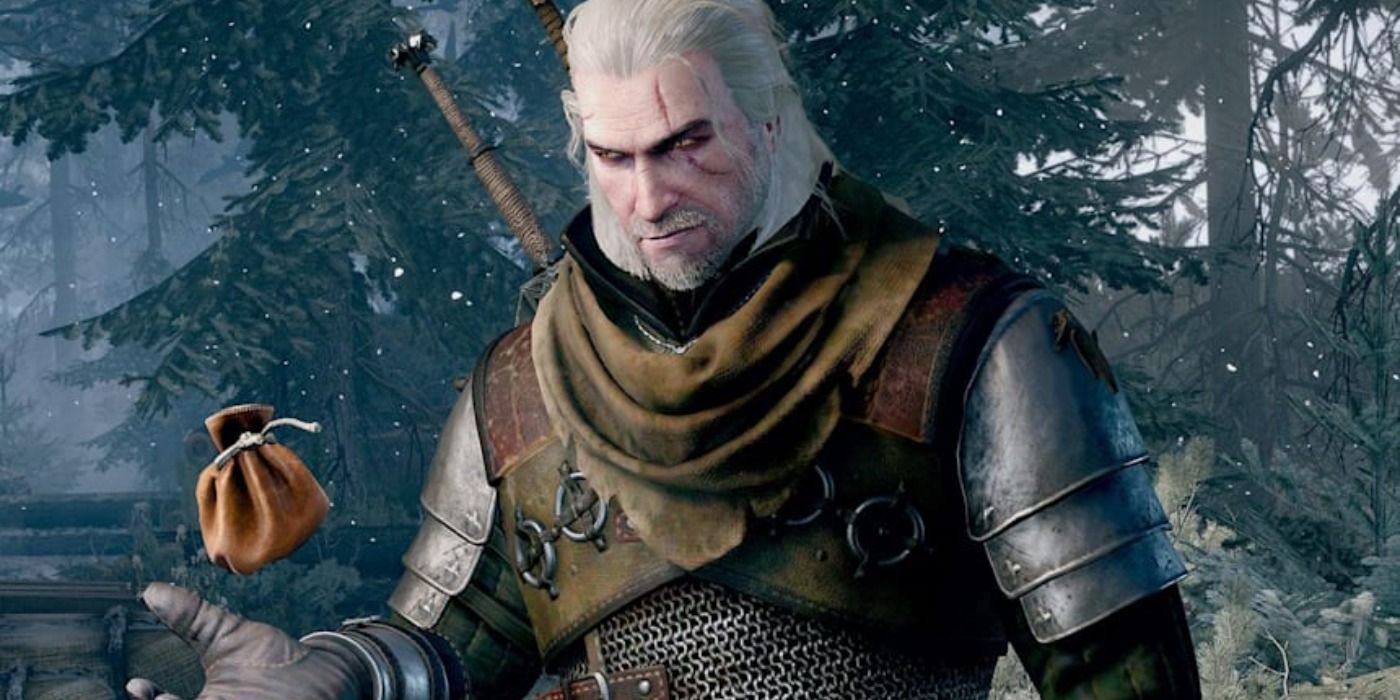
Geralt already knows feeding him regular food will only torture the werewolf, and the curse prevents Morkvarg from permanent death. Whether Geralt slays him or decides to leave, Morkvarg will die either way and drop a few items, including a hunk of his own meat. Geralt may need this werewolf meat later, depending on how he goes about the quest. After leaving the cave, you should seek out Morkvarg's missing key.
Finding The Key
Now it's time to return to the previously mentioned mechanism. Two levers together operate three gates within the mote. The lever to the left selects the gate, and the right lever opens and closes the selected gate.
The first gate is located past the bridge to the left at the end of the canal and will serve no purpose during this quest. The second is straight ahead, opposite the mechanism. The third and final gate sits to the right at the other end of the mote. You can tell which gate is selected by three wooden rods in the middle. For this quest, use the levers to open the gate within the mote to the right.
Now it's time to go for a swim. Geralt will need to submerge to find an underwater entrance to the waterlogged cave beyond the right gate. Once inside the cave, use Geralt's witcher senses to find a lootable chest and a Padlock Key lying amidst a pile of bones at the end of the cavern.
Head back out of the cavern, but instead of returning directly to Morkvarg, you'll want to enter the larger building in the first courtyard you passed through on your first trip around the garden. Use the Padlock Key to access the two rooms inside. The room to the left is where Geralt will find Morkvarg's Journal. However, it's worth rifling through the other room, too, as it harbors some good loot.
Upon reading the journal, Geralt discovers Einar used to run with Morkvarg and his crew but surrendered his portion of the spoils in fear of bringing Freyja's wrath down upon himself. Now, Geralt can return to Einar to try and get the real story out of him.
Getting The Truth Out of Einar
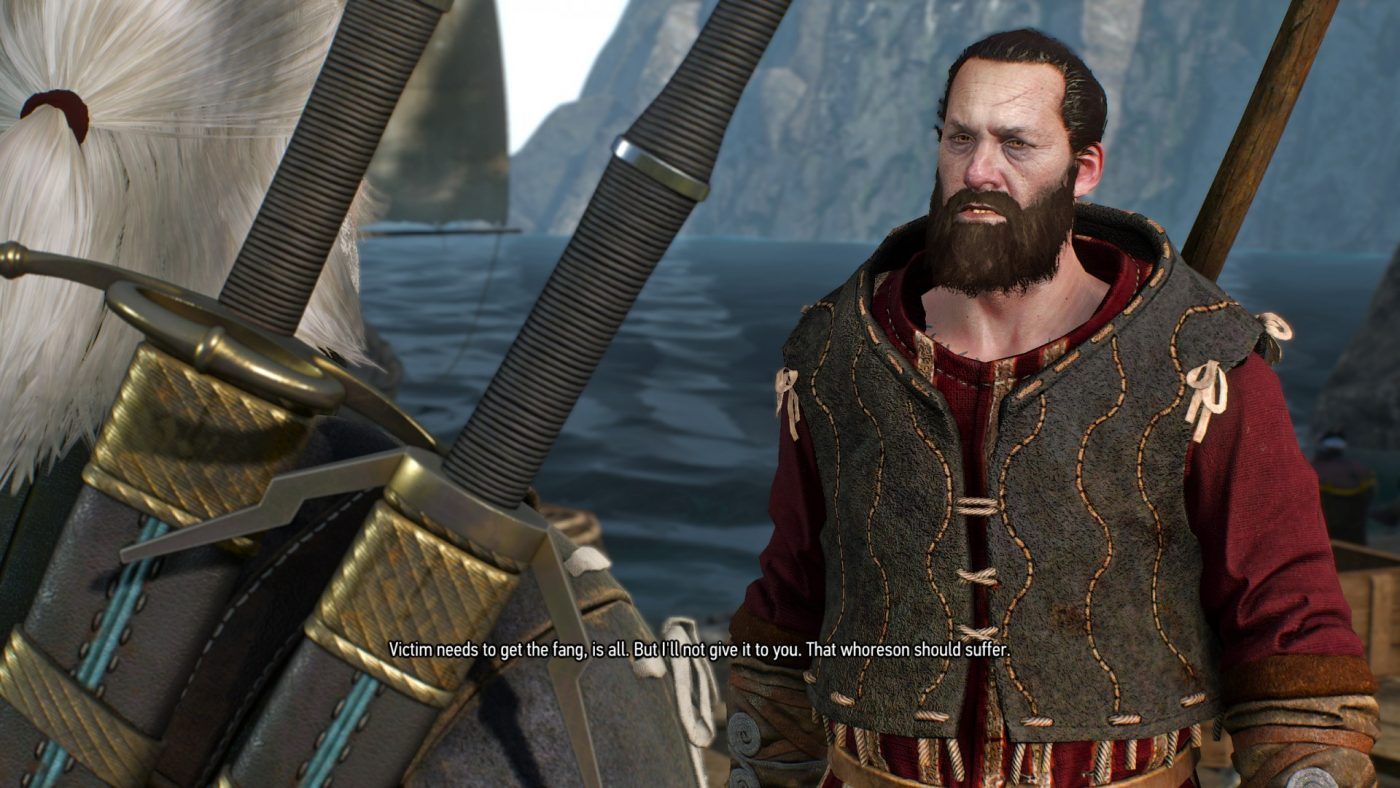
There are a couple of ultimatums Geralt will need to make in order to secure what he needs to free Morkvarg. Namely, these both pertain to whether or not to fight Einar. In order to navigate this part of the quest successfully, Geralt will have to refrain from splitting the ruffian's skull.
Though you may be tempted to clock Einar in the nose for prolonging your investigations, Initially reasoning with Einar reveals that he was actually the one to curse Morkvarg, gashing him with a cursed fang. Ironically, that which is the cause of Morkvarg's afflictions is also the remedy. But Einar is loath to give up the fang, insisting Morkvarg should never be freed from the curse.
Geralt once again needs to decide whether to convince Einar to give up the fang or fight him for it. Geralt will get the fang either way, but by exchanging blows, Geralt will kill Einar. Because of this outcome, fighting forfeits the option to actually give Morkvarg the fang. On the other hand, the only way to reason with Einar is to acquiesce to killing Morkvarg once the curse is lifted.
The Final Showdown And Possible Rewards

Feed Morkvarg Werewolf Meat
Morkvarg will need to be subdued once more before Geralt can talk to him again. Then, if Geralt can't or decides not to give Morkvarg the cursed fang, Geralt will need to feed Morkvarg his own werewolf meat, which Geralt should've collected after their first encounter. In this case, Morkvarg will truly die instantaneously upon eating the werewolf meat, earning Geralt 50 experience and another 50 upon reporting to Josta, along with an 85 crown payout.
Give Morkvarg The Cursed Fang
However, if Geralt successfully reasoned with Einar, he can give Morkvarg the cursed fang, which will earn Geralt a reward of 80 experience. Despite Geralt mercifully lifting the curse rather than simply killing him, Morkvarg will proclaim he intends to return to his ruffian ways.
This now prompts a further ultimatum from Geralt:
- Look the other way and ask about the promised treasure instead.
- Kill Morkvarg.
Asking about the treasure earns Geralt another 80 experience and the treasure's location, which turns out to be the Loan Shark in Novigrad.
Geralt can still have a change of heart after learning the location and kill Morkvarg as he leaves if you have a moral conflict with allowing the miscreant to continue his raiding spree. Otherwise, Geralt will earn 85 experience for choosing to kill Morkvarg at the outset.
Maximizing Earnings & Rewards
Following up on the promised reward at the Loan Shark (regardless of if Geralt kills Morkvarg after the dialogue concludes,) Geralt will receive an additional 50 experience, the Deithwen silver sword -- a rare but totally useless weapon, and a recipe for the Werewolf Decoction.
In order to maximize Geralt's yield from this quest, be sure you do not turn the quest into Josta right away after discovering the location of Morkvarg's treasure. Head to the Loan Shark instead, secure Geralt's earnings there, then return to Josta. Geralt will still get the 50 experience and 85 crowns from her.
So in terms of Geralt's optimal earnings for this quest, here is the best path.
- Reason with Einar and lift Morkvarg's curse for 80 XP.
- Choose not to kill Morkvarg to gain another 80 XP and the location of the treasure.
- Grab the treasure in Novigrad for another 50 XP, a new decoction formula, and a sword worth roughly 60 crowns.
- Return to Josta in Larvik to collect her 50 XP and 85 crowns reward.
This brings Geralt's total earnings to 260 XP, a new alchemy formula, and 85 crowns plus another 60 crowns if you sell the Deithwen sword. The monetary compensation is notably subpar for this sort of witcher work. Still, the overall payout isn't abhorrent compared to how poorly Geralt's been paid in the past.
Source: https://www.thegamer.com/the-witcher-3-in-wolfs-clothing-walkthrough-best-reward/
0 Response to "Morkvarg Witcher 3 What to Feed"
Post a Comment